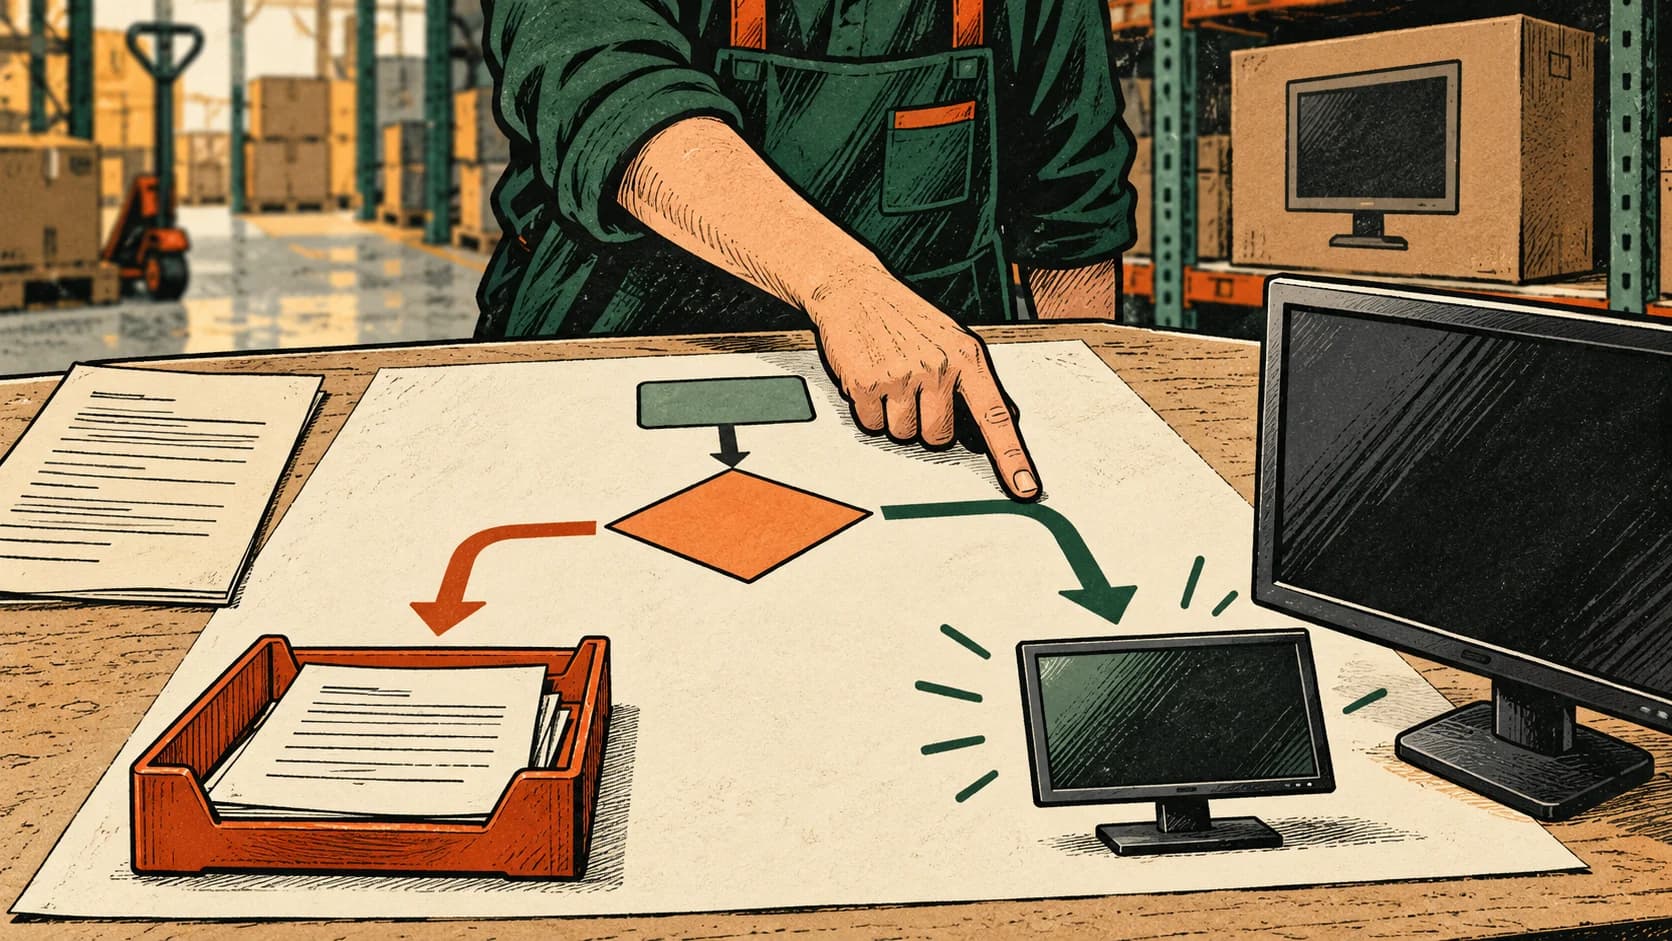
Training illustration of a process branch; not a product interface and not a client case study.
To create a business process flowchart with AI, prepare a short description of the rules, ask the model to identify actions and conditions, and then generate Mermaid code. Paste the code into a diagram editor, walk through the branches with concrete examples, and save the source file along with the image. The main task is to preserve the meaning of the transitions: a clean drawing by itself does not confirm that the process is correct.
Mermaid is a text-based diagram description language: shapes and connections are defined in code, and the program builds the image. The code is easy to edit together with the instructions. Built-in AI is not required for this: the model helps prepare the diagram text, and Mermaid displays it. Mermaid description.
This guide is intended for department managers, analysts, and employees who document an internal procedure. The result is a draft of a simple flowchart for discussion with the person responsible for execution. It is not a model of an executable business process and not a full BPMN diagram with events and engine rules.
The documentation was checked on October 29, 2026. The prompts and scenario below are suggested training examples, not answers from a tested neural network and not a client case. The operations in the browser-based editor are described according to the documentation; their execution in the user's account was not tested.
Contents
- Prepare the description
- Identify actions and questions
- Get Mermaid code
- Open and fix the diagram
- Check the routes
- Save the editable version
Step 1. Prepare the description
Choose one procedure with a clear start and end. For your first diagram, equipment issuance from the warehouse or forwarding a purchase request will work well. If you are discussing procurement, payment, delivery, and accounting all at once, split them into separate diagrams; otherwise, the discussion about connections will turn into rearranging dozens of blocks.
Before sending the text to AI, remove surnames, internal addresses, account details, and information that cannot be sent to the chosen service. For this task, role names and transition rules are enough. Agree internally on your model's terms of use and whether uploading working documents is allowed.
Copy this fictional source into an approved work chat:
Process: handling an internal equipment request.
R1. The process begins when the request is received.
R2. The coordinator checks whether the model and quantity are specified.
R3. If information is missing, the coordinator asks for clarification.
    After the employee responds, the coordinator checks the request for completeness again.
R4. If the information is complete, the warehouse clerk checks whether
    there is enough of the required equipment in stock.
R5. If there is enough, the warehouse clerk issues the equipment.
    In this branch, the process ends with completed issuance.
R6. If there is not enough, the request is handed over to the purchaser.
    In this branch, the process ends with the status "In procurement queue".
Undefined: the waiting time for clarification and the request cancellation procedure.
Procurement from the supplier is outside the scope of this diagram.
Identifiers R1–R6 are needed to match the text. This is a suggested working method, not mandatory Mermaid syntax. The waiting time is deliberately left unknown: the neural network should not turn a gap into a made-up rule like "close after one day."
Stage result: a description with two different endings and a separate list of unresolved questions. If you still need to find out what employees actually do, you first need a business process auditand only then a diagram.
Step 2. Identify actions and questions
Do not ask it to "draw a pretty diagram" right away. First, ask the model to break down the source text:
Analyze description R1–R6. Return a table:
rule | role | action or question | next step | transition condition.
Preserve both process endings. List the unknown rules separately.
Do not add deadlines, approvals, or automated actions.
If a rule can be interpreted in different ways, ask a clarifying question.
Do not create diagram code yet.
Check the answer against the source. The question "are the model and quantity specified?" checks request completeness; the question "is there enough equipment?" checks inventory. They cannot be combined into a single diamond "request approved": otherwise the reason for returning to the employee disappears.
| Element of the training process | What should remain in the diagram | What should not be added without the owner's decision |
|---|---|---|
| Incomplete information | Clarification request and return after the answer | Automatic rejection by timer |
| Equipment availability | Separate check of the required model quantity | Budget check instead of warehouse check |
| Not enough equipment | Transfer to purchaser and procurement queue | Ready supplier order |
| Equipment issued | Completed issuance | Single final state "done" for both branches |
Stage result: a coordinated list of blocks and links. The list of unknown items can be sent separately to the process owner without filling the diagram with unconfirmed actions.
Step 3. Get Mermaid code
After you fix the table, send a second prompt:
Based on the agreed table, create a flowchart TD in Mermaid.
Use short Latin IDs and Russian labels in double quotes.
Show actions as rectangles and questions as diamonds.
Label the outgoing branches of questions "Yes" and "No".
Label the return from clarification to the check "Answer received".
Issuance and procurement queue must have different end blocks.
Do not include supplier procurement or the unknown waiting time.
Do not add formatting, links, HTML, or settings.
Return only the code, starting with flowchart TD.
Below is a prepared editorial example based on this source. You can use it as a foundation, but the model's expected answer may differ:
flowchart TD
    START["Request received"] --> FULL{"Are the model and quantity specified?"}
    FULL -->|No| ASK["Coordinator asks for clarification"]
    ASK -->|Answer received| FULL
    FULL -->|Yes| STOCK{"Is there enough required equipment in stock?"}
    STOCK -->|Yes| ISSUE["Warehouse clerk issues the equipment"]
    ISSUE --> DONE["Issuance completed"]
    STOCK -->|No| BUY["Forward request to purchaser"]
    BUY --> QUEUE["Request in procurement queue"]
In this code, TD sets the direction from top to bottom. IDs like FULL let you reference a node, and the text in quotes becomes the visible label. Square brackets define a rectangle, curly braces define a diamond; --> defines an arrow. The rules for shapes, labels, and Unicode are described in the flowchart documentation.
The code is plain text for the diagram editor: you do not need to run it in the command line. Copy the lines starting with flowchart TDinto the working editor, without the enclosing triple backticks and the word mermaid.
Stage result: the diagram source, which can be opened, edited, and stored separately from the AI response.
Step 4. Open and fix the diagram
For a non-confidential training example, open Mermaid Live Editor. According to the official guide, the source is entered in the Code panel, and the image appears in Preview. Replace the demo text with your own code. First make sure the blocks display, then change the labels and direction. User Guide.
If a parse error appears, return to the minimal code. Check the matching parentheses, regular double quotes, and the absence of model explanations inside the block. In flowchart, the lowercase word end can break parsing; for the final node, use, for example, the ID DONE. Put complex labels in quotation marks. These details are noted in the syntax documentation.
You can request a correction in a targeted way:
Fix only the Mermaid syntax in the attached code.
Do not change the action names, arrow directions, conditions, or end states.
After the code, list the changed lines and the reason for each change.
Editor error text: [insert the actual message].
Compare the fix with the previous version. If the model removed the return to verification along with the bracket, it changed the process. Restore the link manually or repeat the request with specific IDs.
Mermaid has a separate syntax-check function that does not render the diagram — mermaid.parse. It confirms the language is valid, not whether the warehouse rules are correct or the image is readable. Validation API documentation.
Stage result: the editor displays the diagram without an error message. Content review still lies ahead.
Step 5. Check the routes
Walk through the arrows together with the person who handles these requests. For a training example, use three scenarios:
- The model and quantity are specified, and there is enough required equipment. The route should end with issuance.
- The model and quantity are specified, but there is not enough equipment. The route should end with a purchasing queue. It should not imply that the equipment has already been received.
- The quantity is not specified. The route leads to clarification; a return to verification is possible after the employee responds. Without a response, the diagram does not promise completion.
These are suggested test scenarios, not the results of an actual test. If your company cancels a request when there is no response, first define the cancellation rule: who does it, under what condition, and with what final status. Only then add a new branch.
Also check whether there is an arrow that skips a required verification step and a block with no exit that mistakenly looks like an end state. A syntactically valid diagram can describe the wrong action. That is why route checking cannot be replaced by asking the same model to “make sure everything is correct.”
For a small sequential procedure, a flowchart is usually enough as a working draft. If you need to describe messages between participants, parallel branches, timer-based events, and execution in a process system, choose the appropriate notation and model it with an analyst. Do not pass off a simple Mermaid flowchart as a finished automation specification.
Stage result: the executor understands each route, and gaps in the rules remain clearly marked.
Step 6. Save an editable version
Save the source code in a standard UTF-8 file, for example equipment-request-v1.mmd, and place the R1–R6 description next to it. The name is a suggested example. Add the date and procedure owner to the accompanying note so it is clear who to contact when the rules change.
In Live Editor, the Actions section lets you export PNG, SVG, and Markdown. PNG is convenient to insert as an image, SVG preserves the vector image, and the code is needed for further content edits. The editor history is stored in the browser; do not use it as the only copy of the working diagram. These are documented features, with no guarantee that a specific button will be available in your editor build.
To modify individual shapes, you can move the code into draw.io: Arrange → Insert → Mermaid, paste the text, and choose Diagram. The current documentation describes a container with the source that can be opened for editing. When you regenerate it, styles and labels are preserved, while the manual geometry is recalculated; after Ungroup, the container source is deleted. So keep .mmd separately and make substantive edits before the final layout. Inserting and editing Mermaid in draw.io.
For internal diagrams, use an approved environment. The Live Editor README points to configurable external rendering services, including Mermaid Ink and Kroki. That does not mean any public editor operation is processed entirely in the browser. The training text above is fictional; choose working routes and data in line with your policy. Project README.
Stage result: the team has the source, the image, and the rules description. The next version starts with editing the rules and code, then re-running the affected routes.
Frequently asked questions
Do I need to know how to code?
For a simple diagram, it is enough to edit labels and connections using the example. AI can prepare the code, but the meaning of conditions and the completion rules must be confirmed by the procedure owner. The complexity of a real process does not disappear just because you change tools.
Why not ask a neural network to draw the picture?
If the diagram will need to be changed, a source file with IDs and arrows lets you manage transitions explicitly. An image is suitable for viewing; for changing the logic, a text structure is more useful. This is a format-selection criterion, not a comparison of all image generators by quality.
Can I upload a large policy document in full?
The technical possibility depends on the AI service you choose. For this guide, focus on one procedure and the relevant sections: that makes it easier to match each transition to a rule. If the sources conflict, resolve the conflict first; do not ask the model to silently pick the convenient version.
How AIrassvet helps move from diagram to automation
When the diagram exposes manual handoffs between warehouse, procurement, and the accounting system, the next question is which of them to automate. As part of process audits, data preparation, and business system integration, you can:
- clarify the source rules and boundaries of one procedure;
- describe the required data and handoffs between employees and systems;
- prepare requirements for automation and result validation.
The first step is to choose one process, name the sources of rules, the current way of working, the constraints, and the expected result. A well-aligned diagram will help discuss this step in a concrete way; by itself, it does not confirm integration readiness. Discuss the task.
Conclusion
Start by describing the real sequence of actions, identify questions and different end states, then get and open the Mermaid code. Walk through the branches using specific scenarios and save the source file. For a training example, the key difference is between “equipment issued” and “request sent to purchasing”: the diagram is useful when it preserves that difference and does not hide unknown rules.